How to Change a Bike Battery Safely (5-Step Guide for Any Bike)
Replacing a bike battery is simple if you follow the right steps and safety precautions. Whether you ride a TVS, Honda, Hero, Bajaj, or Royal Enfield, this easy guide will help you change your bike battery confidently at home.
1. Turn Off the Bike & Remove the Key
Safety comes first.
Make sure the bike is completely switched off and the key is removed from the ignition.
This prevents short circuits and protects the bike’s electrical system while you work.
2. Locate the Battery Compartment
Every bike model has a different battery placement—usually under the seat or side panel.
Open the panel using the bike key or a screwdriver and carefully expose the battery area.
Avoid touching any wires until you see the battery terminals clearly.
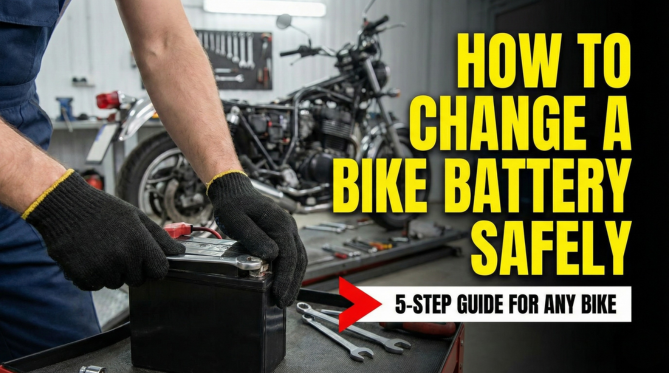
3. Disconnect the Old Battery (Negative First)
Always disconnect the negative (-) terminal first to avoid sparks or electrical damage.
Then remove the positive (+) terminal.
Once both wires are detached, gently pull out the old battery and keep it upright to prevent any leakage.
4. Install the New Battery Properly
Place the new battery firmly in the same position as the old one.
Connect the positive (+) terminal first, followed by the negative (-) terminal.
Make sure all connections are tight, clean, and rust-free to ensure smooth starting and longer battery life.
5. Test the Bike & Close the Panel
Turn on the ignition and check if the bike starts smoothly.
If everything works fine, close the battery panel or seat securely.
Dispose of the old battery responsibly—preferably at a battery shop for recycling.
Final Tips
-
Use only branded, genuine batteries like Exide, Amaron, Livfast, or SF Sonic.
-
Wear gloves to avoid acid contact from old batteries.
-
If you’re unsure, always get expert help.